 Lavritech
Platform
1. Configuration -> Host Groups -> Create host group
Group name: group name for your sensors (example: ESP8266)
click Add
2. Configuration -> Templates -> Create template
Template name: template name for ESP8266 settings (example: Template ESP8266 Host)
Groups: add created before (example: ESP8266)
click Add
3. Configuration -> Templates -> open Template created in Step 2 -> click Items -> Create Item
Name: item name (exampe: RSSI)
Type: Zabbix trapper
Key: rssi (full list of supported keys see below)
Type of information: Numeric (float)
Units: dBm
click Add
click Create Item
Name: item name (exampe: VDD)
Type: Zabbix trapper
Key: vdd (full list of supported keys see below)
Type of information: Numeric (float)
Units: V
Use custom multiplier: tick and 0.001
click Add
click Create Item
Name: item name (exampe: DSW1 Temperature)
Type: Zabbix trapper
Key: dsw1 (full list of supported keys see below)
Type of information: Numeric (float)
Units: °C
click Add
4. click Graphs -> Create graph
Name: some name (example RSSI)
Items: Add -> select RSSI from modal window -> Select
click Add
repeat this step for VDD and DSW1 items if you need this graphs too, now template for your ESP8266 modules is ready for use.
5. Configuration -> Hosts -> Create Host
Host name: hostname from ESP8266 module http://[esp8266 ip]/configmain
Visible name: name which will be displayed in zabbix interface
Groups: created before (example: ESP8266)
Switch to Templates tab and click Select near Link new templates a new window will appear, select group created in 1. step and tick your template, after clicking Select window will be closed and selected template will appear near Link new templates, click Add link and now Host setup is done, click Add.
Zabbix now ready for receiveing data from ESP8266 modules. Don't forget about Zabbix Server config "StartTrappers" by default it is off.
http://[esp8266 ip]/configsrv
1. tick Enable Zabbix sender. Period: (example: 60)
2. IP adress: your zabbix server ip
3. Port: 10051 (default)
click Set
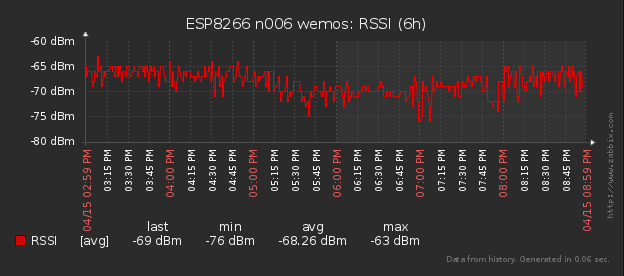
If connection between zabbix server and esp8266 module is ok, zabbix will start receiving data from esp8266 module every 60 and will start graphing added items.

Внимание ! Имена некоторых метрик поменялись с 6.02.21 !! Новые имена можно посмотреть на вкладке Metrics на самом модуле.
| Key | |
|---|---|
| idesp | ID устройства |
| hostname | Имя устройства |
| mac | MAC адрес устройства |
| wanip | IP адрес устройства |
| freemem | Свободное ОЗУ |
| ver | Версия и дата сборки прошивки |
| uptime | Время работы |
| rssi | Уровень сигнала WI-FI |
| rfid | Данные с RFID |
| ping | ping тест статус |